Milk Jug Seed Starting How to
- Dec 31
- 2 min read
Cheap, easy and all outdoors - Milk Jug Seed Starting works for novice and experienced gardeners alike in Brooklyn. Here are the step by step instructions for growing sturdy, hard to find native seedlings.
What you need:

Clean gallon milk or water jugs
Scissors and/or mat knife
Drill OR hammer and nail for making holes
Sharpie
Duct tape
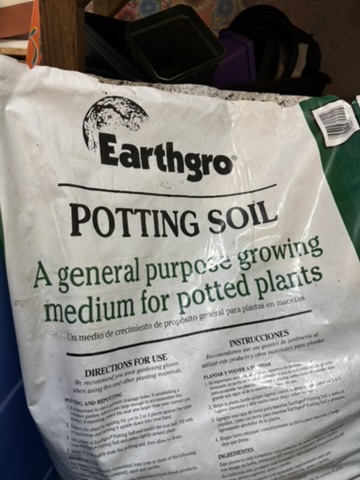
Inexpensive Potting Soil -
not Seed Starting Mix
Seeds and plant labels


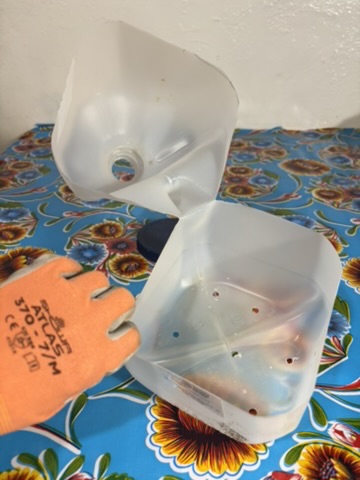
Step 1 - Cut open the Milk Jug
Mark the start and end point of your cut on either side of the handle. Draw a line to guide your cut about 3 3/4" from the bottom and cut, being careful to leave the area around the handle intact.


Step 2 - Make drainage holes
Drill or punch 5 to 8 drainage holes in the bottom of the jug. A drill works but so does a hammer and nails or even a corkscrew. Remember to protect your work surface!


Step 3 - Add Moistened Potting Soil
Remove any sticks or lumps from the potting and mix in water. It should be thoroughly moist throughout but not soppy. If you can squeeze a fistful of soil and only squeeze out a drop of so, you are good.


Step 4 - Plant and cover seeds
Seeds have various planting depths and it is always good to check. However, many wildflower seeds like these fluffy Anemone virginiana seeds are small and can be placed generously on the surface of the soil and covered lightly with soil or vermiculite.
Be sure to press the covered seeds firmly for good contact with the soil.


Step 5 - Seal the Jug and place outdoors in a sunny, sheltered spot
Use duct tape or packing tape to seal the jug AND recap the jug. Place outdoors - ideally in a sunny spot that it somewhat sheltered from high winds.

Congratulate yourself - you have made a mini greenhouse. Now all you have to do is wait for spring and germination.
IMPORTANT - Once temperatures begin to rise, you will need to uncap and/or remove the tape and open up the jug to avoid cooking the tender young seedlings.
Young seedlings can be planted out in spring or pricked into plugs to grow on for fall planting.


Comments